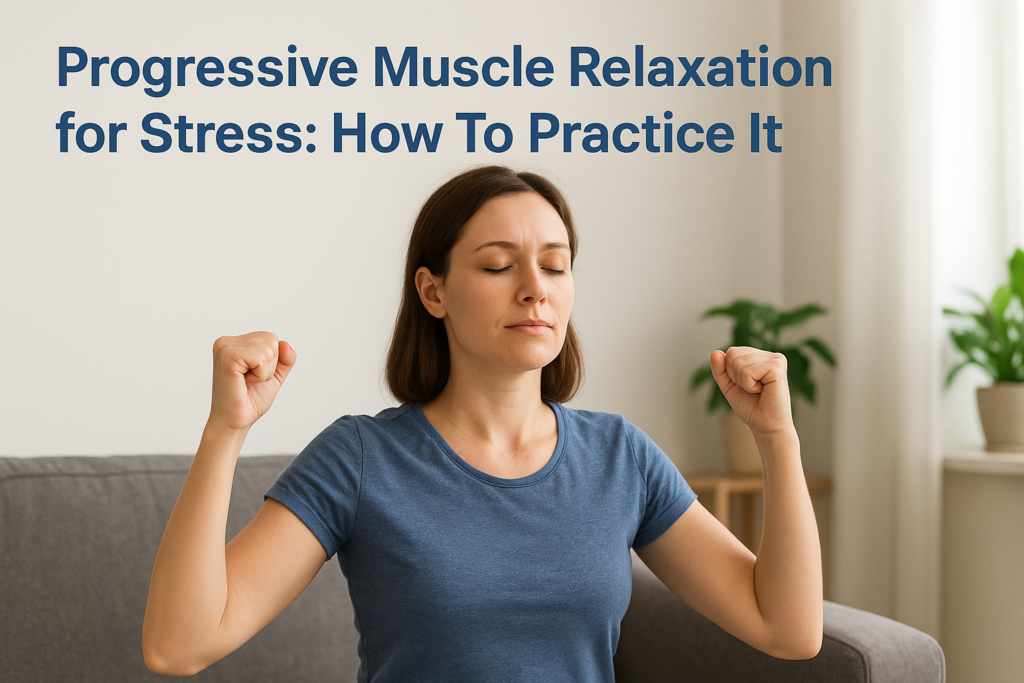
Progressive Muscle Relaxation for Stress: How To Practice It
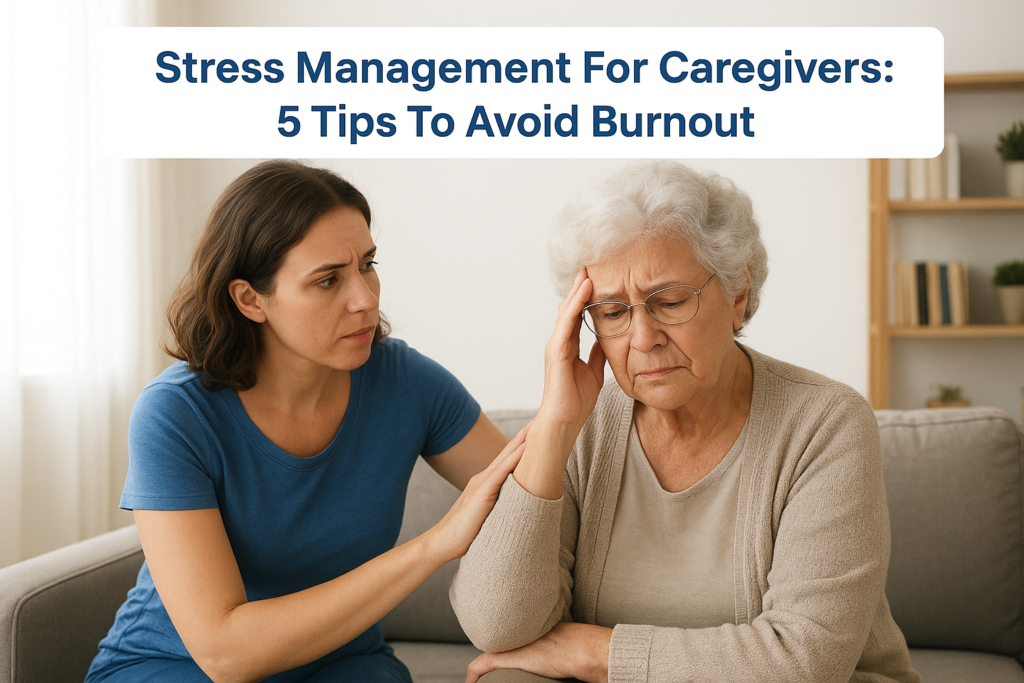
Your shoulders are creeping toward your ears. Your jaw is clenched. Maybe you’ve been holding tension in your body for so long that you don’t even notice it anymore, until the headaches start, sleep becomes difficult, or anxiety feels like a constant companion. Progressive muscle relaxation for stress is a simple, evidence-based technique that helps you release that physical tension deliberately and systematically, calming both your body and mind in the process.
The method works by guiding you through tensing and then releasing specific muscle groups, one at a time. This deliberate contrast between tension and relaxation trains your nervous system to recognize what true relaxation actually feels like. Over time, you become better at identifying stress in your body before it builds into something more disruptive.
At New Perspective Counseling, we regularly teach progressive muscle relaxation to clients dealing with anxiety, PTSD, chronic stress, and sleep difficulties. It’s a practical tool that complements deeper therapeutic work, something you can use on your own, anywhere, whenever tension starts to take hold. Whether you’re new to relaxation techniques or looking for a structured practice to add to your routine, this guide will walk you through exactly how to do it, step by step.
What progressive muscle relaxation is
Progressive muscle relaxation (PMR) is a body-based technique that reduces stress and anxiety by systematically tensing and then releasing different muscle groups throughout your body. You start with one area, like your hands or feet, squeeze those muscles tight for about 5 to 10 seconds, and then let go completely, paying close attention to the sensation of release. The process moves through your entire body in a deliberate sequence, from your toes to your head or vice versa.
The technique was developed in the 1920s by American physician Edmund Jacobson, who observed that mental anxiety and emotional distress always showed up as physical tension somewhere in the body. He discovered that if you could teach someone to recognize and release that muscular tension, their psychological symptoms often improved as well. His original protocol involved over 200 different muscle exercises and took months to learn, but modern versions simplify the process into 10 to 16 major muscle groups you can work through in about 15 to 20 minutes.
The basic principle behind PMR
Progressive muscle relaxation for stress works by creating a sharp contrast between tension and relaxation. When you deliberately tighten a muscle group and then release it, you train your body to recognize what deep relaxation actually feels like. Most people carry chronic tension without realizing it, their shoulders raised, jaw clenched, or stomach tight as a default state. By exaggerating the tension first, the release becomes unmistakable.
“You can’t relax a muscle you don’t know is tense in the first place.”
This awareness is what makes PMR different from simply telling yourself to relax. You’re not just hoping tension will fade on its own. You’re actively engaging with it, teaching your nervous system the difference between contracted and released muscles so you can spot tension earlier and let it go more easily in daily life.
What happens in your body during PMR
When you tense a muscle group, you’re briefly activating your sympathetic nervous system, the part responsible for the fight-or-flight response. Your heart rate may increase slightly, and blood flow to that area intensifies. The moment you release the tension, your parasympathetic nervous system takes over, slowing your heart rate, deepening your breathing, and triggering the relaxation response throughout your body.
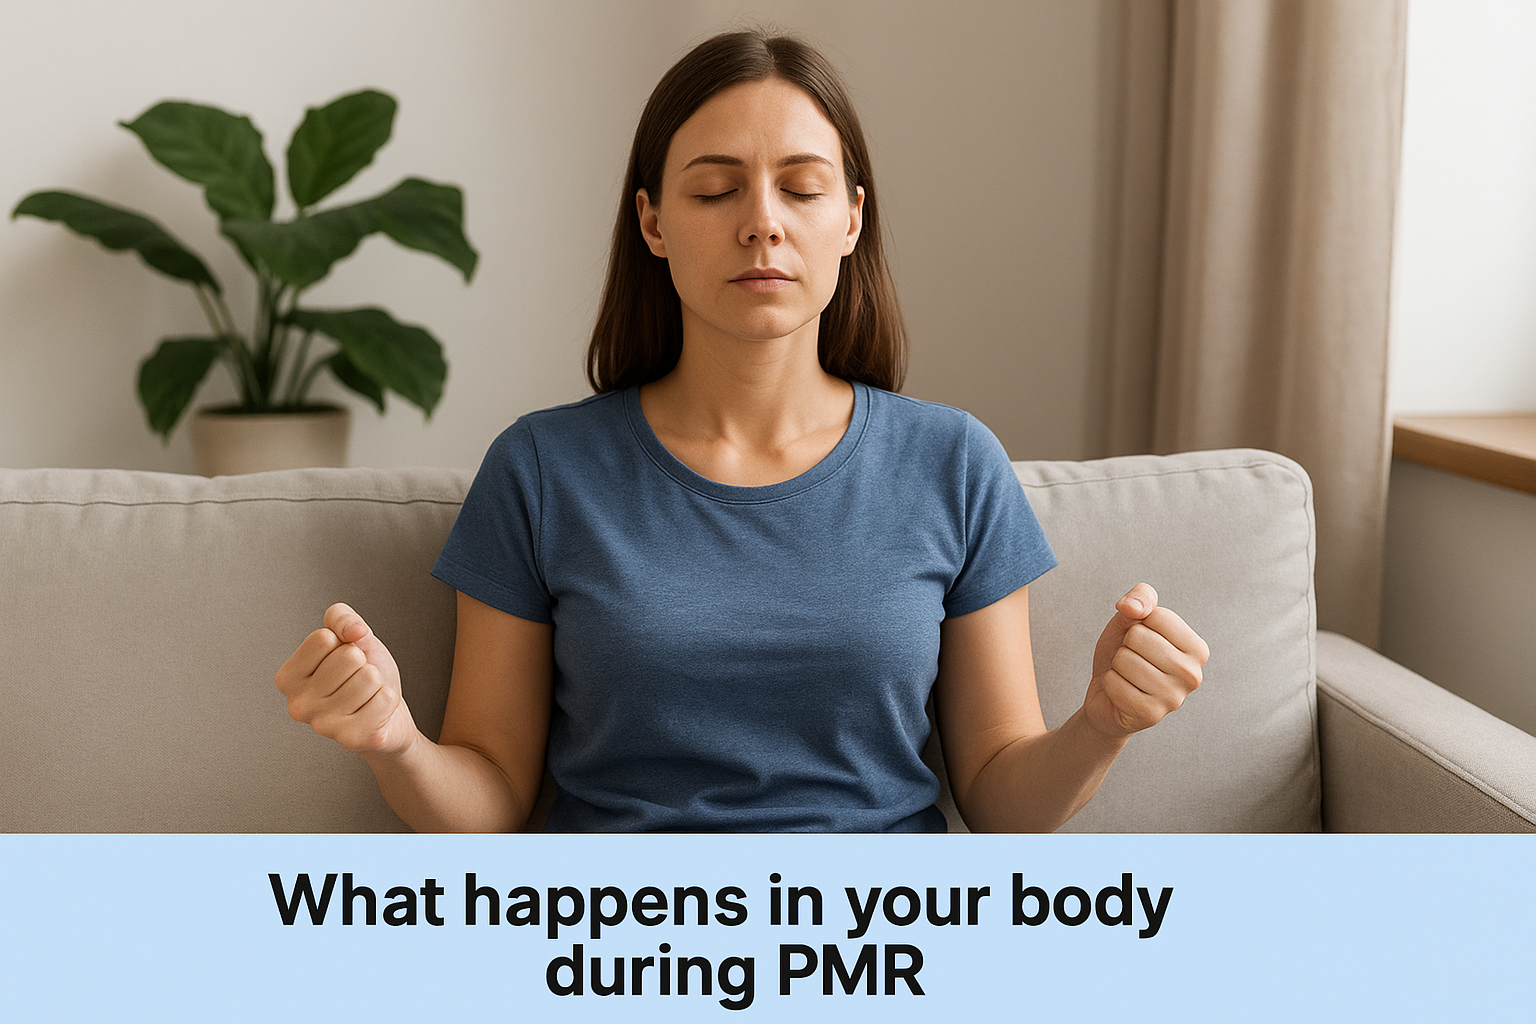
Repeated cycles of tension and release train your body to shift more quickly into that calm state. Over time, your baseline muscle tension drops, your sleep quality often improves, and physical symptoms tied to stress like tension headaches, jaw pain, and digestive issues may lessen. Research shows that regular practice can lower cortisol levels, reduce blood pressure, and improve overall emotional regulation.
The difference between PMR and other relaxation methods
Unlike breathing exercises, which focus primarily on your respiratory system, or meditation, which centers on mental focus and awareness, PMR gives you a physical action to perform in each moment. This makes it particularly helpful if your mind tends to wander or if you feel too restless to sit still and “just breathe.” You have a clear task at every step: tense this muscle, hold it, release it, notice the difference.
PMR also works well if you’re skeptical about relaxation techniques or feel disconnected from your body. The instructions are concrete and measurable. You’re not trying to achieve some abstract state of peace. You’re simply following a step-by-step physical process that produces predictable results. Many clients at New Perspective Counseling find this structure reassuring, especially when anxiety makes everything else feel uncertain or overwhelming.
When PMR works best and when to skip it
Progressive muscle relaxation for stress isn’t a one-size-fits-all solution, and knowing when it will help you most makes a significant difference in your results. Some situations naturally lend themselves to this technique, while others require caution or a different approach altogether. Understanding these distinctions helps you use PMR strategically rather than treating it as a universal fix for every type of distress.
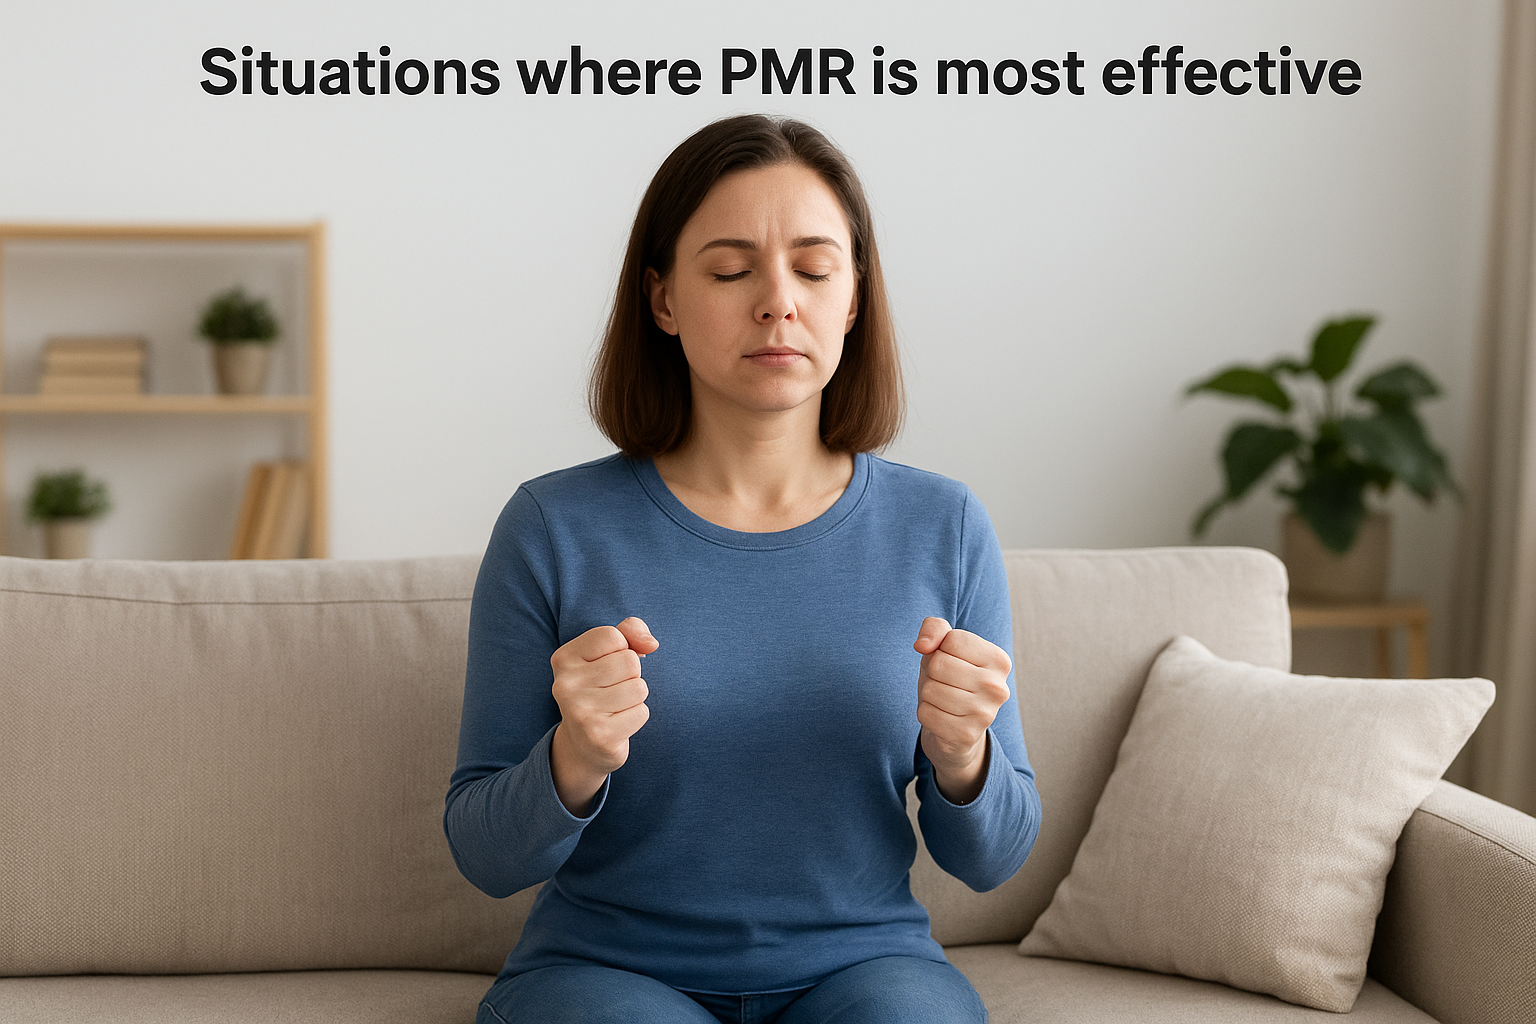
Situations where PMR is most effective
You’ll get the most benefit from PMR when your stress manifests primarily as physical tension. If you notice tight shoulders after a long workday, clenched fists during difficult conversations, or a rigid jaw when you’re anxious, this technique directly addresses those symptoms. It works particularly well for generalized anxiety, where worry creates a constant state of muscular bracing throughout your day.
Sleep difficulties tied to an overactive mind also respond well to PMR. The systematic process of working through each muscle group gives your racing thoughts something concrete to follow, while the physical release signals your body that it’s safe to rest. Many clients at New Perspective Counseling use a shortened PMR routine as part of their bedtime ritual, finding it more effective than simply lying in bed trying to force sleep.
“The best time to practice PMR is before stress becomes a crisis, not in the middle of a panic attack.”
Tension headaches, TMJ pain from jaw clenching, and general muscle soreness from chronic stress all improve with regular practice. PMR also pairs well with other therapeutic approaches. If you’re working through trauma processing techniques like EMDR or dealing with chronic pain conditions, PMR gives you a portable tool to manage activation between sessions.
Times to use caution or skip PMR
You should avoid PMR or modify it significantly if you have acute muscle injuries or conditions that make tensing muscles painful or dangerous. This includes recent sprains, strains, fractures, or inflammatory conditions like severe arthritis. The deliberate tensing phase can aggravate these issues rather than help them heal.
Skip PMR during an active panic attack. The intentional tension phase can feel too similar to the physical sensations of panic itself, potentially making things worse. In those moments, focus on breathing techniques or grounding exercises instead. Save PMR for calmer periods when you’re working on prevention rather than crisis management.
Certain neurological conditions require medical clearance before starting PMR. If you have a history of seizures, uncontrolled high blood pressure, or recent surgery, check with your doctor first. The brief increases in muscle tension and blood pressure during the tensing phase are usually minor, but they matter if you’re managing these specific health concerns.
Step 1. Set up for a safe session
The environment you choose for progressive muscle relaxation for stress directly affects how deeply you can relax. You need a space where you feel physically safe and mentally comfortable letting your guard down. This isn’t about creating a perfect spa-like atmosphere. It’s about removing obstacles that will pull your attention away from the practice or make you feel exposed or interrupted.
Choose your space and position
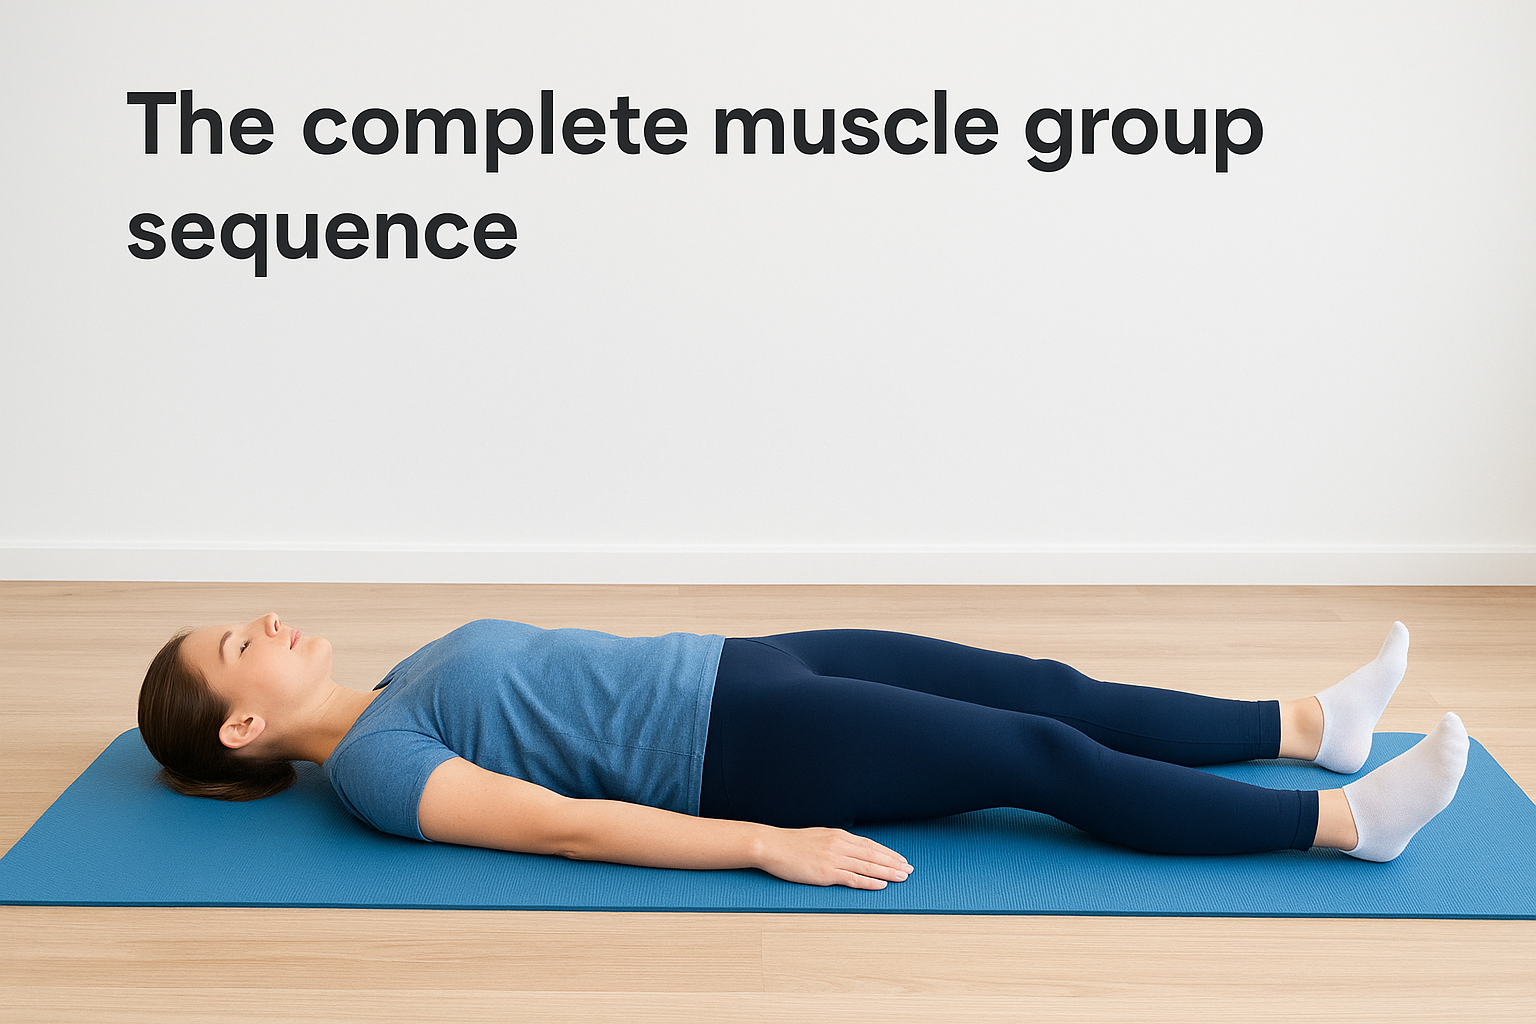
Find a quiet room where you can close the door and have at least 15 to 20 minutes of uninterrupted time. You can practice PMR sitting in a chair or lying down on your back, whichever feels more stable and less likely to make you fall asleep. If you choose a chair, pick one with good back support and armrests. Your feet should rest flat on the floor, and your arms should rest comfortably at your sides or on the armrests without strain.
If you lie down, use a yoga mat, carpet, or bed, and place a small pillow under your head and another under your knees to support your lower back. Keep your arms at your sides with palms facing up. The goal is a position you can hold comfortably for the entire session without needing to shift or adjust constantly.
“Your body won’t relax fully if part of your brain is monitoring for interruptions or physical discomfort.”
Set your time and minimize interruptions
Turn your phone to airplane mode or leave it in another room. If you have family members or roommates at home, let them know you need 20 minutes without interruptions. Lock the door if that helps you feel more secure. The fewer external variables you have to manage, the more your nervous system can shift into relaxation mode.
Choose a time when you’re not at your most exhausted. PMR works best when you have enough alertness to stay focused on the instructions but aren’t so wired that your mind races. Many people find late afternoon or early evening ideal, after work stress has built up but before the day’s responsibilities are completely finished.
Prepare your body and mindset
Wear loose, comfortable clothing that doesn’t restrict movement or dig into your skin. Remove glasses, tight jewelry, belts, or shoes. Adjust the room temperature so you won’t be too cold or too hot. Some people prefer a light blanket nearby in case their body temperature drops as they relax.
Before you begin, take three slow breaths and set a simple intention. You don’t need an elaborate ritual. Something as straightforward as “I’m here to release tension” works perfectly. This brief mental transition signals to your body that you’re shifting gears from doing mode into sensing and releasing mode.
Step 2. Learn the tension and release cycle
Before you move through your entire body, you need to understand the basic mechanics of the tension and release cycle that makes progressive muscle relaxation for stress effective. This isn’t about squeezing as hard as you possibly can or holding your breath until you’re uncomfortable. The technique requires just enough tension to create awareness, followed by a complete and deliberate release that your nervous system can recognize.
How to create effective tension
When you tense a muscle group, aim for about 70 percent of your maximum effort. You should feel a clear sensation of tightness or strain, but not pain or cramping. Hold that tension for 5 to 7 seconds, breathing normally throughout. Many beginners make the mistake of holding their breath during the tension phase, which activates stress responses rather than preparing your body for relaxation.
Focus the tension in the specific muscle group you’re working on without letting it spread to surrounding areas. For example, if you’re tensing your right fist, your shoulders and jaw should stay relaxed. This isolation takes practice, but it’s what makes PMR more effective than general stretching or movement exercises.
“The quality of your release depends entirely on the clarity of your tension.”
The release and observation phase
Let go of the tension all at once, not gradually. This sudden release creates the strongest contrast and makes the relaxation response more obvious to your nervous system. After you release, spend 15 to 20 seconds simply noticing what happens in that muscle group. You might feel warmth, heaviness, tingling, or a spreading sensation. You might feel nothing dramatic at first, and that’s normal too.
Pay attention to the difference between the tensed state and the released state. Your goal isn’t to force relaxation or judge whether you’re “doing it right.” You’re simply observing what your body does naturally when tension drops away.
Practice with one muscle group first
Start with your dominant hand to get comfortable with the cycle before moving through your full body. Follow this exact sequence:
Right hand tension and release template:
- Make a tight fist with your right hand
- Squeeze for 5 seconds (count: one thousand one, one thousand two…)
- Release completely and let your hand fall open
- Notice sensations for 15 seconds
- Take one normal breath
- Repeat the same muscle group one more time
Run through this two-cycle process with your hand until the pattern feels natural. The repetition trains your nervous system to recognize and respond to the contrast between tension and release.
Step 3. Do a full-body PMR routine
Now that you understand the tension and release cycle, you’re ready to work through your entire body systematically. This full-body sequence takes 15 to 20 minutes and covers all major muscle groups from your feet to your face. You’ll tense each area twice, just like you practiced with your hand, creating a thorough release of accumulated tension throughout your body. This complete routine is what makes progressive muscle relaxation for stress most effective, especially when physical tension has spread to multiple areas.
The complete muscle group sequence
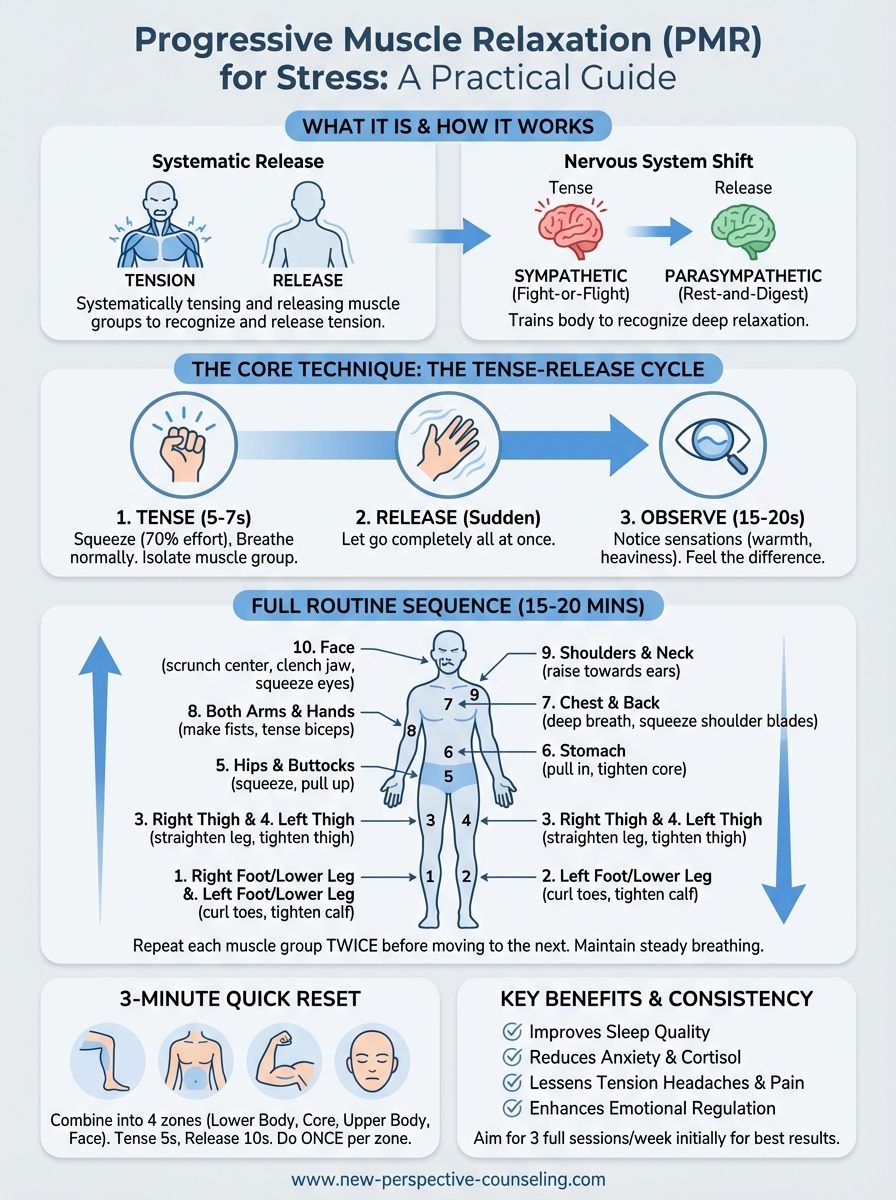
Work through the following 10 muscle groups in order, tensing each area for 5 to 7 seconds, releasing completely, and observing for 15 to 20 seconds. Repeat each muscle group twice before moving on to the next one.
Full-body PMR template:
- Right foot and lower leg: Curl your toes downward and tighten your calf
- Left foot and lower leg: Same action on the opposite side
- Right thigh: Straighten your leg and tighten the muscles on top of your thigh
- Left thigh: Repeat with the opposite leg
- Hips and buttocks: Squeeze your buttocks together and pull them slightly upward
- Stomach: Pull your stomach in toward your spine, tightening abdominal muscles
- Chest and back: Take a deep breath and hold it while squeezing shoulder blades together
- Both arms and hands: Make fists and bend both arms at the elbows, tensing biceps
- Shoulders and neck: Raise both shoulders up toward your ears
- Face: Scrunch your entire face toward the center, squeezing eyes shut and pursing lips
“Moving from feet to head gives your body a predictable rhythm and helps you stay focused on the practice rather than wondering what comes next.”
Timing and pacing guidelines
Count out loud or in your head during each tension phase to maintain consistency. Use “one thousand one, one thousand two” counting to avoid rushing through the holds. Your breathing should stay normal and steady throughout. Never hold your breath during the tension phase, as this activates stress responses rather than preparing your body for relaxation.
Between muscle groups, take one full breath as a transition point. This brief pause helps you mentally shift focus to the next area without feeling rushed. If you lose track of which muscle group you’re on or whether you’ve done it once or twice, that’s completely normal. Simply make your best guess and continue forward rather than starting over.
The entire sequence becomes automatic with practice. After three to five sessions, you won’t need to refer to the template anymore. Your body will remember the pattern, and you can focus entirely on the sensations of tension and release rather than following instructions.
Step 4. Try a 3-minute quick reset
You won’t always have 20 minutes for a full-body session, and that’s when a shortened version becomes essential. This 3-minute quick reset condenses progressive muscle relaxation for stress into four major muscle groups that hold the most tension for most people. You can do this version at your desk, in your car before a difficult meeting, or anywhere you need rapid relief without drawing attention to yourself.
The condensed muscle group approach
The shortened version works by combining smaller muscle groups into larger zones that you can tense and release together. Instead of isolating your right foot, left foot, right thigh, and left thigh separately, you tense your entire lower body at once. This sacrifice in precision still produces significant tension release because you’re hitting the areas where stress accumulates most heavily: your legs, core, upper body, and face.
You’ll run through each of these four zones only once instead of twice, and you’ll hold the tension for just 5 seconds with a 10-second release observation period. This faster pace maintains effectiveness while fitting into brief windows of time when stress spikes unexpectedly.
“A 3-minute reset won’t replace your full practice, but it stops tension from spiraling when you catch it early.”
The 3-minute quick reset template
Follow this exact sequence, spending roughly 45 seconds per muscle zone:
Quick PMR template:
- Lower body (legs and feet): Press both feet into the floor, straighten both legs, and tighten everything from your toes to your hips. Hold 5 seconds. Release completely for 10 seconds.
- Core (stomach, chest, and back): Pull your stomach in tight, take a deep breath, and squeeze your shoulder blades together. Hold 5 seconds. Release and exhale slowly for 10 seconds.
- Upper body (arms, shoulders, and neck): Make fists with both hands, bend your arms, raise your shoulders toward your ears, and tighten your neck muscles. Hold 5 seconds. Drop everything and observe for 10 seconds.
- Face (jaw, eyes, and forehead): Scrunch your entire face toward the center, clenching your jaw and squeezing your eyes shut. Hold 5 seconds. Let your face go completely slack for 10 seconds.
Take three slow breaths after finishing all four zones, noticing how your body feels compared to three minutes ago. This abbreviated version works best when you use it multiple times throughout your day rather than waiting until tension becomes overwhelming.
Step 5. Make PMR stick with a weekly plan
Random practice produces random results. Progressive muscle relaxation for stress becomes a reliable tool only when you build it into your schedule with the same consistency you’d give to taking medication or showing up for therapy appointments. The difference between people who get lasting benefits from PMR and those who try it once or twice and abandon it comes down to intentional repetition over several weeks until the practice becomes automatic.
Build your first two weeks of practice
Start with a 14-day foundation period where you commit to practicing the full 20-minute routine at least three times per week. Pick specific days and times that align with your existing schedule rather than trying to squeeze PMR into random gaps. Early morning before your day accelerates, lunch breaks when you need a midday reset, or evenings before bed all work well depending on your energy patterns and responsibilities.
Use this starter template to map out your first two weeks:
Week 1-2 PMR Schedule:
| Day | Time | Duration | Type |
|---|---|---|---|
| Monday | 7:00 PM | 20 min | Full routine |
| Wednesday | 12:30 PM | 20 min | Full routine |
| Friday | 6:30 AM | 20 min | Full routine |
| Daily (optional) | As needed | 3 min | Quick reset |
Write these sessions into your calendar with reminders set 10 minutes before each one. Treat them as non-negotiable appointments with yourself rather than optional activities you’ll do if you remember.
“Two weeks of consistent practice rewires your nervous system’s default response to tension more than six months of sporadic attempts.”
Track your progress and adjust
Keep a simple practice log in a notebook or phone app where you record three things after each session: the date, your tension level before (rate 1 to 10), and your tension level after (rate 1 to 10). This data shows you whether PMR is working and helps you identify patterns. Maybe evening sessions work better than morning ones, or you notice tension drops more dramatically after you’ve practiced for a full week.
After your first two weeks, adjust your frequency and timing based on what you’ve learned. Some people need daily practice during high-stress periods, while others maintain results with three sessions per week. The 3-minute quick reset should become something you use proactively when you notice tension building, not just during crisis moments. Add it before difficult conversations, after frustrating emails, or during commutes when traffic stress accumulates.
Troubleshooting and common mistakes
Even with clear instructions, you’ll likely run into obstacles or questions as you practice progressive muscle relaxation for stress. Most problems stem from a handful of predictable mistakes that have straightforward fixes. Recognizing these issues early and adjusting your approach keeps frustration from derailing your progress before the technique has time to work.
Signs you’re tensing too hard
Your muscles should feel engaged but not strained during the tension phase. If you experience sharp pain, cramping, or muscle spasms, you’re pushing too hard. Dial back to about 50 to 60 percent effort instead of 70 percent, and make sure you’re breathing normally throughout the hold. Holding your breath while tensing creates unnecessary strain and defeats the purpose of the relaxation response.
Cramping happens most often in the feet, calves, and hands because these areas contain smaller muscle groups that fatigue quickly. If a cramp starts, release immediately and gently massage the area until it subsides. Skip that muscle group for the rest of your session and try again in your next practice with less intensity.
“Pain during PMR means you’re working against your body instead of with it.”
What to do when you feel nothing
Some people complete their first few sessions and report feeling no noticeable difference in their tension levels. This doesn’t mean PMR isn’t working. It usually means your baseline tension is so high that your nervous system has stopped registering it as unusual. Keep practicing consistently for at least 10 to 14 days before deciding whether the technique works for you. Physical changes often precede mental awareness of those changes.
Focus more deliberately on the observation phase after you release each muscle group. Instead of rushing to the next area, spend the full 15 to 20 seconds noticing any sensation, no matter how subtle: warmth, tingling, heaviness, or even just the absence of tension. Your awareness will sharpen with repetition.
How to stay focused when your mind wanders
Mental drift during PMR is completely normal, especially if you’re tired or dealing with intrusive thoughts related to anxiety or trauma. When you notice your attention has wandered, simply return to the last muscle group you remember completing and continue from there. You don’t need to restart the entire sequence.
Counting out loud during both the tension and release phases helps anchor your attention to the present moment. If silent counting doesn’t work, consider using a recorded PMR script that provides verbal cues at each step. This external guidance reduces the mental effort required to remember what comes next, freeing your attention to focus on physical sensations instead.
Next steps for calmer days
You now have everything you need to start using progressive muscle relaxation for stress as a practical tool in your daily life. Begin with the full 20-minute routine three times this week, and add the 3-minute quick reset whenever tension builds. Track your progress in a simple notebook, rating your tension levels before and after each session.
Consistency matters more than perfection. You’ll miss sessions, lose focus, or fall asleep halfway through sometimes, and that’s normal. What counts is returning to the practice the next day rather than abandoning it. Most people notice significant improvements in sleep quality, anxiety levels, and physical tension within two to three weeks of regular practice.
If you’re dealing with chronic anxiety, trauma responses, or stress that doesn’t respond to self-help techniques alone, professional support makes the difference. Schedule a consultation at New Perspective Counseling to explore how PMR fits into a broader treatment plan tailored to your needs.